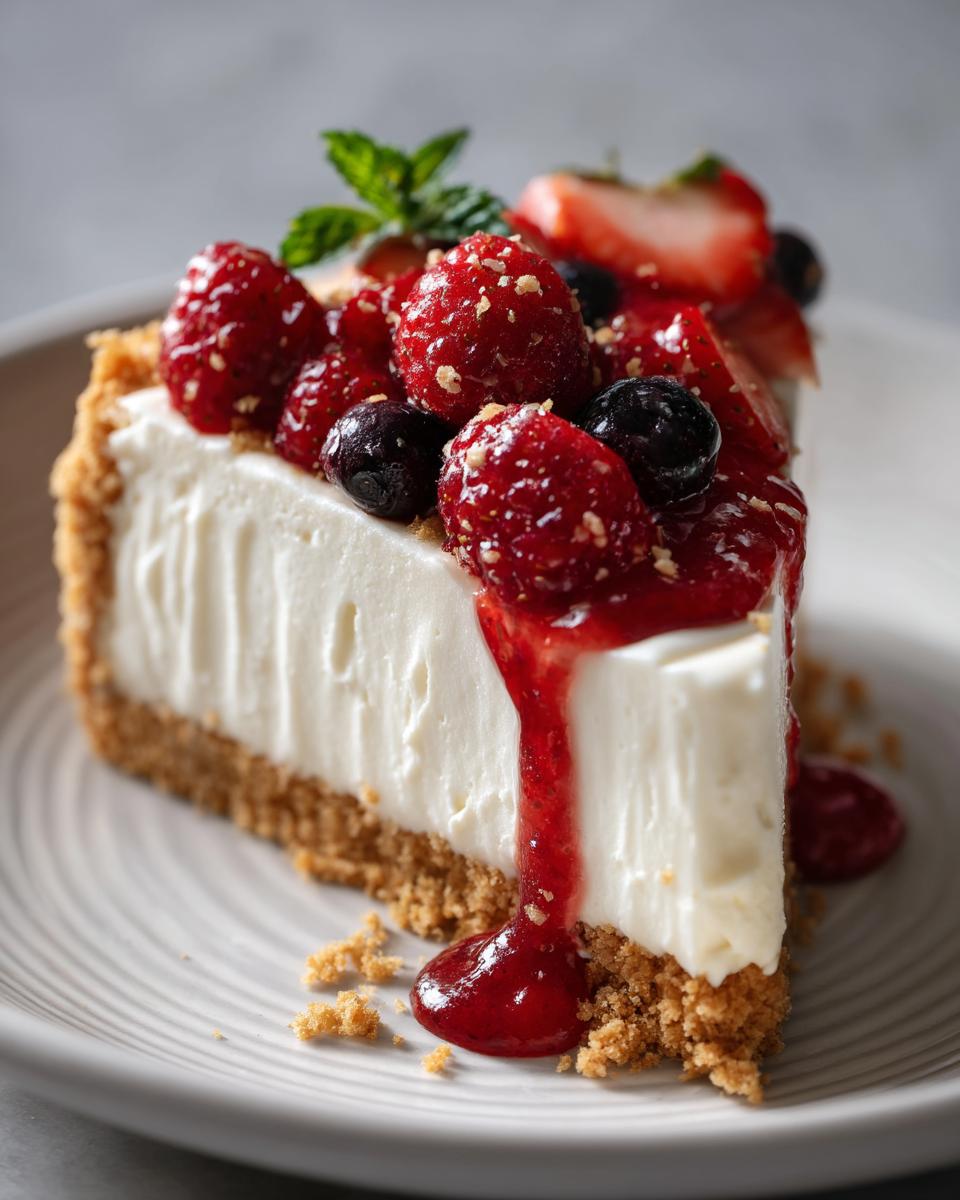
Okay, listen up! If you think making a show-stopping cheesecake is some kind of complicated, all-day kitchen project, think again! My go-to **cheesecake** recipe is a total game-changer because guess what? It’s NO-BAKE! Seriously. You get all that glorious, creamy, tangy goodness of a classic cheesecake without ever turning on your oven. This recipe is my absolute favorite for last-minute get-togethers or when it’s just too darn hot to bake. It’s been in my rotation for years, and it always, *always* gets rave reviews. Trust me, you are going to fall head over heels for how simple and delicious this is!
Why You’ll Love This Cheesecake
So, why is this no-bake cheesecake my absolute favorite? Besides tasting like a dream, it’s just SO easy and forgiving! Here’s the lowdown on why you’ll be hooked:
- Seriously Fast Prep: We’re talking maybe 15 minutes of actual work. Boom!
- No Oven Drama: Perfect for hot days or when your oven is doing other things. Just mix, chill, and enjoy!
- Velvety Smooth Texture: That combo of cream cheese and condensed milk makes it unbelievably rich and creamy.
- Topping Playground: This cheesecake is a blank canvas! Fresh berries, chocolate sauce, whipped cream… you name it!
It’s basically the easiest way to impress everyone (including yourself!).
Ingredients for the Perfect Cheesecake
Alright, let’s talk ingredients! The beauty of this cheesecake is that you don’t need a million fancy things. It’s all pretty standard stuff you likely have or can easily grab. But using the *right* kind of these simple ingredients is key to getting that perfect, creamy, dreamy texture and flavor. Don’t skimp on the good stuff here!
Here’s what you’ll need:
- 1 1/2 cups graham cracker crumbs (Store-bought work great, or whirl your own crackers!)
- 1/4 cup granulated sugar
- 1/2 cup unsalted butter, melted (Make sure it’s *melted* but not boiling hot!)
- 2 packages (8 ounces each) cream cheese, softened (This is HUGE – let it sit out!)
- 1 can (14 ounces) sweetened condensed milk (The sweet magic!)
- 1/4 cup lemon juice (Freshly squeezed is best, really!)
- 1 teaspoon vanilla extract (Pure vanilla makes a difference!)
See? Nothing too wild! But each one plays an important role, from the sturdy crust to that luscious filling.
The Graham Cracker Crust for Your Cheesecake
The crust is the unsung hero here! It’s the sturdy base that holds all that glorious filling. All you need are graham cracker crumbs – you can buy them pre-crushed or smash up your own crackers (which is kind of fun!). We mix those with a little sugar for sweetness and melted butter, which is the glue that holds it all together. Pressed firmly, it creates the perfect foundation.
The Creamy Filling for This Cheesecake
Now for the star of the show! The filling is where the magic happens. The cream cheese needs to be *really* soft, like spreadable butter, so it whips up smooth with no lumps. Sweetened condensed milk adds that amazing sweetness and helps it set up beautifully without any baking. A splash of lemon juice is crucial – it cuts through the richness and gives it that classic cheesecake tang. And vanilla? Just adds that warm, comforting flavor.
How to Prepare This Delicious Cheesecake
Okay, deep breaths! This is the fun part, and honestly, it’s so simple you might giggle. We’re just mixing things together and letting the fridge do the hard work. No tricky water baths or worrying about cracks! Just follow these steps, and you’ll have a stunning cheesecake ready to go.
Here’s the breakdown:
- Crust Time: Get that graham cracker base ready first.
- Filling Frenzy: Mix up that creamy goodness.
- Chill Out: Let the magic happen in the fridge.
Seriously, that’s it! Let’s get started, shall we?
Preparing the Cheesecake Crust
First things first, the crust! Grab a bowl and toss in your graham cracker crumbs and sugar. Give it a quick stir to combine. Now, pour in that melted butter. Mix it all up until it looks like wet sand – that means the butter has coated all the crumbs. Then, just dump that mixture into your pie plate and press it firmly into the bottom and slightly up the sides. I like to use the bottom of a glass or a flat measuring cup to get it nice and compact.
Making the Creamy Cheesecake Filling
This is where things get smooth! Make sure your cream cheese is *really* soft. Beat it in a big bowl with an electric mixer (or a whisk and some serious arm power!) until it’s completely smooth and there are no lumps. This is key! Now, slowly pour in that can of sweetened condensed milk while you keep mixing. Keep going until it’s all beautifully combined and looks super creamy. Finally, stir in your lemon juice and vanilla extract. Give it a final mix just until everything is incorporated. Voila! Filling done.
Chilling Your Cheesecake
Okay, almost there! Pour that glorious filling right into your prepared graham cracker crust. Use a spatula to spread it out evenly. Now, the hardest part: waiting! Cover it loosely with plastic wrap (try not to let the plastic touch the top) and pop it in the fridge. It needs at least 3 hours to firm up and set properly. Trust me, don’t rush this part! The longer it chills, the better it will slice and the creamier it will be.
Tips for Success with Your Cheesecake
Okay, so this recipe is pretty foolproof, but I’ve picked up a few little tricks over the years that just make it *extra* perfect. Think of these as your secret weapons for cheesecake glory!
- Soft Cream Cheese is a MUST: I know I said it before, but seriously, let your cream cheese sit out on the counter for at least an hour, maybe two, until it’s super soft. Cold cream cheese means lumps, and nobody wants lumpy cheesecake!
- Don’t Skip the Lemon Juice: That little bit of acidity is SO important! It balances the sweetness and gives it that classic cheesecake tang. Use fresh if you can, it makes a difference.
- Press That Crust Firmly: When you’re putting the graham cracker mixture in the pan, really press it down! A firm crust holds everything together perfectly when you slice it.
- Chill Time is Sacred: I know it’s hard to wait, but those 3 hours (or even longer!) in the fridge are non-negotiable. That’s how the cheesecake gets its perfect set and creamy texture.
Follow these tiny steps, and your cheesecake will be absolutely divine!
Variations for Your Cheesecake
While this classic version is incredible on its own, feel free to play around and make it your own! You could swap out the graham crackers for crushed Oreos or even shortbread cookies for a different flavor base. Want more citrus kick? Stir in some orange or lime zest with the lemon juice! A little pinch of cinnamon in the filling also adds a lovely warmth. Don’t be afraid to experiment!
Serving Suggestions for Cheesecake
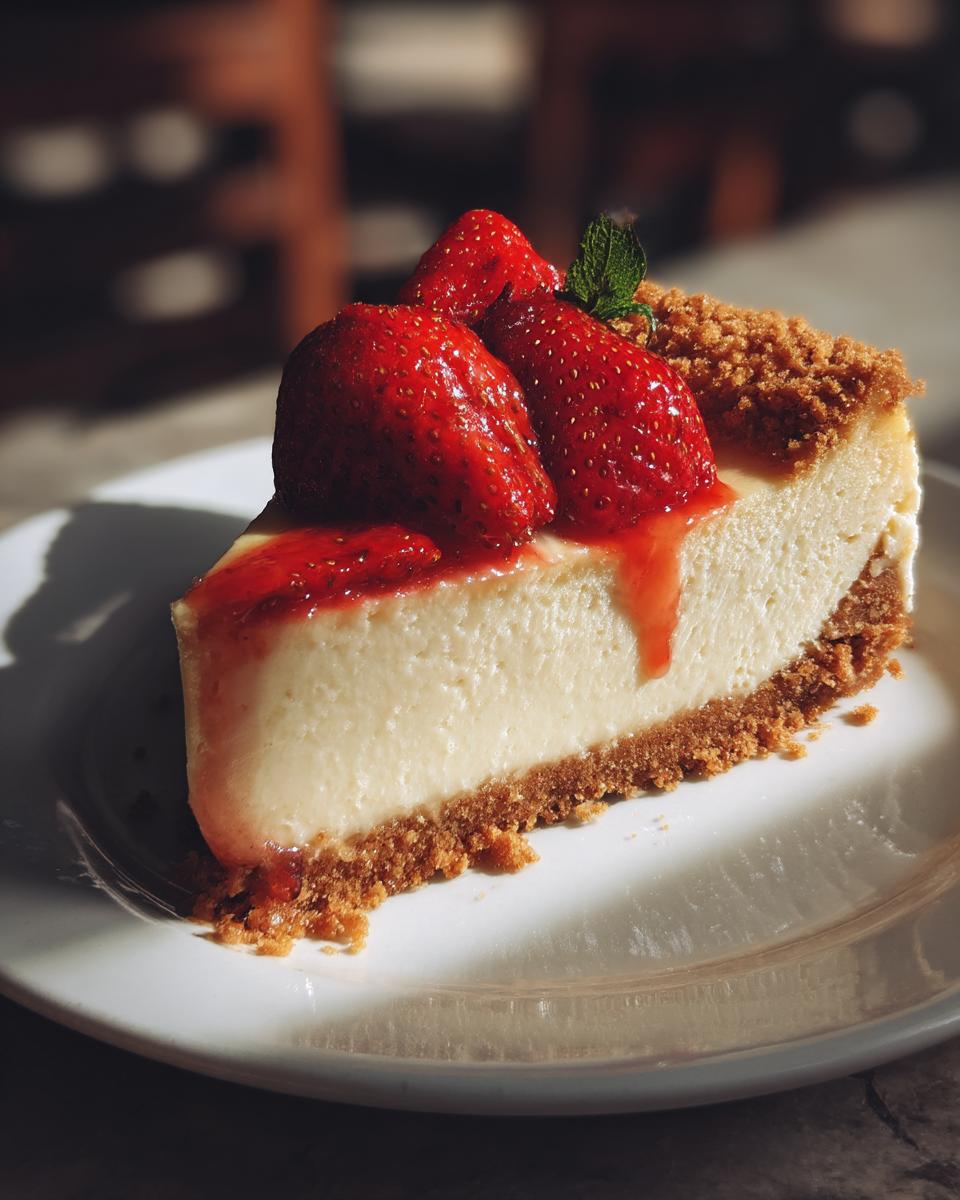
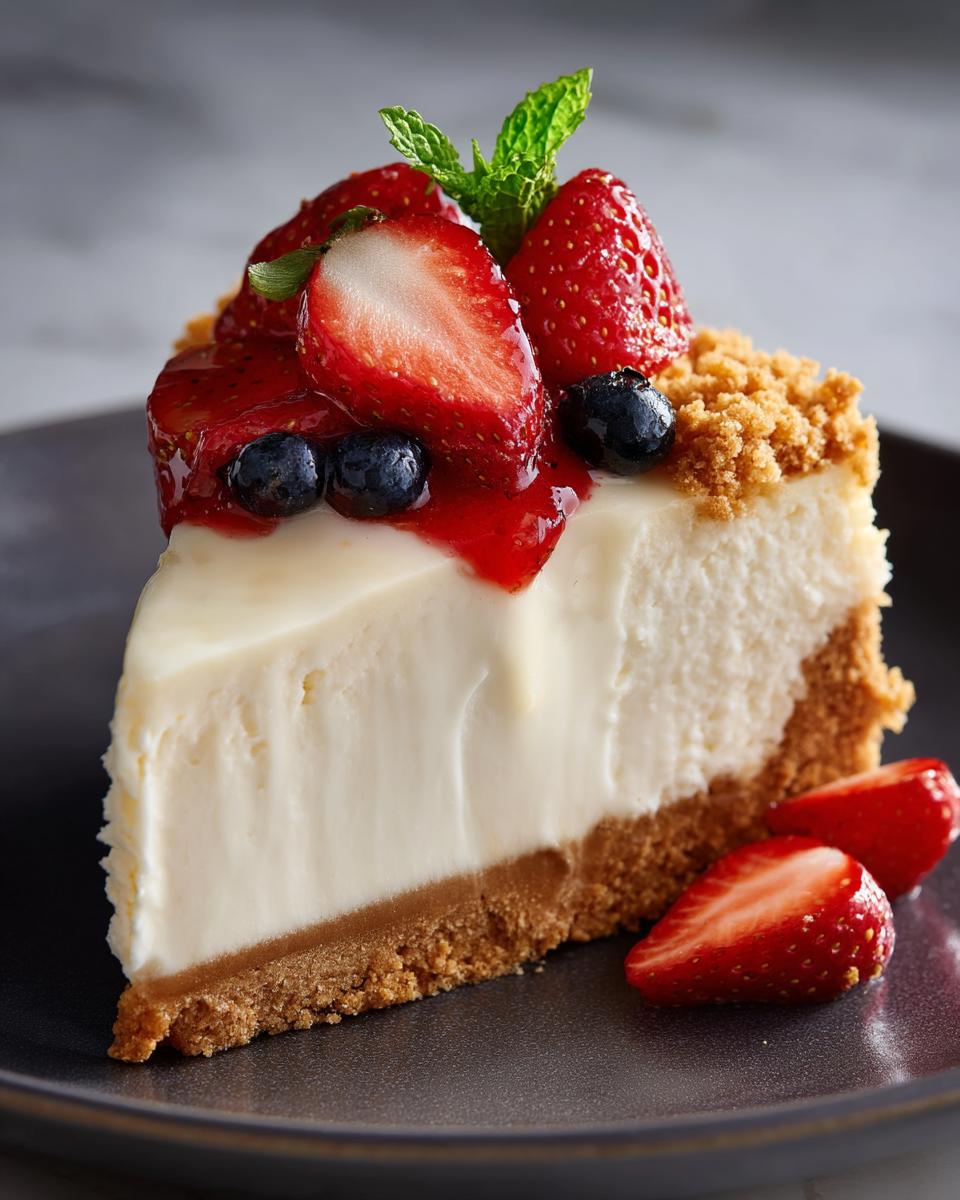
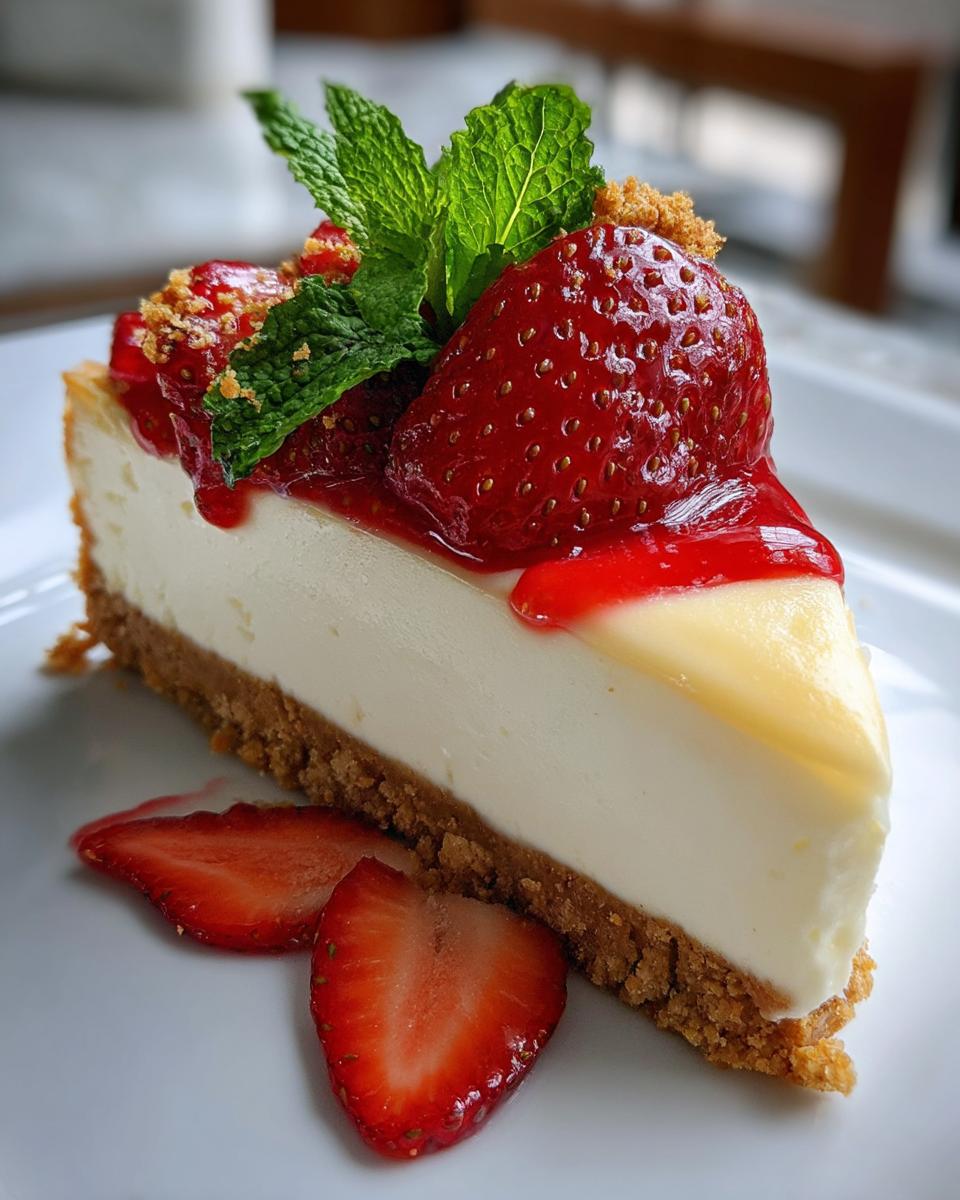
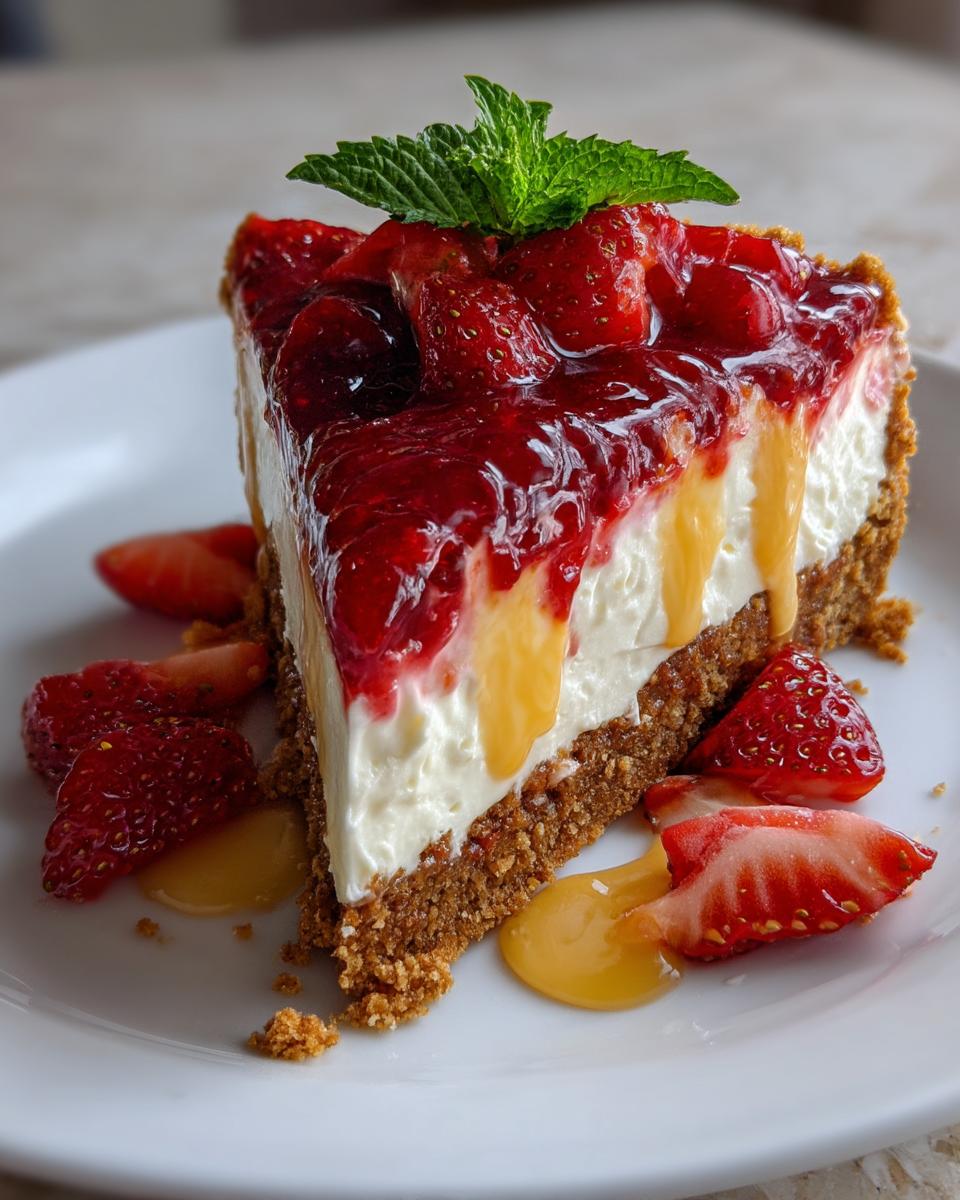
Alright, your beautiful cheesecake is chilled and ready to go! Now for the fun part – decorating and serving! This no-bake wonder is absolutely divine plain, but it’s also a perfect canvas for toppings. My absolute favorite is just piling on fresh berries – strawberries, blueberries, raspberries, whatever’s in season! A dollop of homemade whipped cream is always a winner too. You could also drizzle it with chocolate sauce, caramel, or even a simple fruit compote. Get creative and make it look as good as it tastes!
Storing and Reheating Your Cheesecake
Got leftovers? Lucky you! This cheesecake keeps beautifully. Just make sure you cover it tightly with plastic wrap or pop it in an airtight container. It’ll be perfectly good in the fridge for up to 3 days. And nope, no reheating needed! This is a dessert best enjoyed cold, straight from the fridge.
Cheesecake Frequently Asked Questions
Okay, I know you might have a few questions buzzing around in your head about this no-bake wonder. Don’t worry, I’ve probably asked them myself at some point! Here are some of the most common things people ask me about this cheesecake:
Can I use a different type of crust for this cheesecake?
Absolutely! While graham cracker is a classic for a reason, feel free to get creative! Crushed Oreos mixed with butter make a fantastic chocolate crust. Shortbread cookies, gingersnaps, or even pretzels could be fun too! Just make sure you have about 1 1/2 cups of crumbs and adjust the melted butter if needed until it looks like wet sand.
How long does no-bake cheesecake last in the refrigerator?
If you cover it well (plastic wrap pressed lightly on the surface helps!), this cheesecake will stay delicious in the fridge for about 3 to 4 days. It’s usually gone way before then in my house, though!
Can I freeze this no-bake cheesecake?
Yep, you can! Once it’s fully set, you can freeze it. Wrap it tightly in plastic wrap, then again in foil. It should be good for about a month. Let it thaw in the fridge overnight before serving.
Why is my cheesecake filling not setting?
Usually, this means it didn’t chill long enough! Make sure it gets those full 3 hours (or more!) in the fridge. Also, double-check that you used sweetened condensed milk and not evaporated milk – they are different!
Estimated Nutritional Information for Cheesecake
Okay, for those of you keeping track, here’s a rough idea of what you’re getting in a slice of this heavenly cheesecake. Keep in mind these are just estimates based on the ingredients – everyone’s ingredients are a little different! But it gives you a ballpark idea. It’s definitely a treat, not a health food, but totally worth it!
Based on about 8 servings, one slice might look something like this:
- Calories: Around 400
- Fat: Roughly 25g
- Carbohydrates: About 40g
- Protein: Maybe 8g
Enjoy every single bite!
Share Your Cheesecake Creation
Alright, you’ve done it! You’ve made this amazing no-bake cheesecake, and I bet it looks and smells incredible. I would absolutely LOVE to see your masterpiece! Snap a photo and share it with me on social media – tag me so I don’t miss it! Tell me how it turned out and what toppings you chose. Happy baking (or should I say, happy *no*-baking)!
Print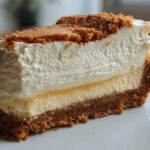
Disastrous Cheesecake Fix in 3 Hours
- Total Time: 3 hours 15 minutes
- Yield: 8 servings 1x
Description
A classic no-bake cheesecake with a graham cracker crust and creamy filling.
Ingredients
- 1 1/2 cups graham cracker crumbs
- 1/4 cup granulated sugar
- 1/2 cup unsalted butter, melted
- 2 packages (8 ounces each) cream cheese, softened
- 1 can (14 ounces) sweetened condensed milk
- 1/4 cup lemon juice
- 1 teaspoon vanilla extract
Instructions
- Combine graham cracker crumbs, sugar, and melted butter in a bowl. Press mixture into the bottom of a 9-inch pie plate.
- Beat cream cheese in a large bowl until smooth. Gradually beat in sweetened condensed milk until well combined.
- Stir in lemon juice and vanilla extract. Pour filling into the crust.
- Chill for at least 3 hours before serving.
Notes
- Top with fresh fruit or whipped cream.
- Store covered in the refrigerator for up to 3 days.
- Prep Time: 15 minutes
- Cook Time: 0 minutes
- Category: Dessert
- Method: No-Bake
- Cuisine: American
Nutrition
- Serving Size: 1 slice
- Calories: 400
- Sugar: 35g
- Sodium: 200mg
- Fat: 25g
- Saturated Fat: 15g
- Unsaturated Fat: 8g
- Trans Fat: 0g
- Carbohydrates: 40g
- Fiber: 1g
- Protein: 8g
- Cholesterol: 70mg