Description
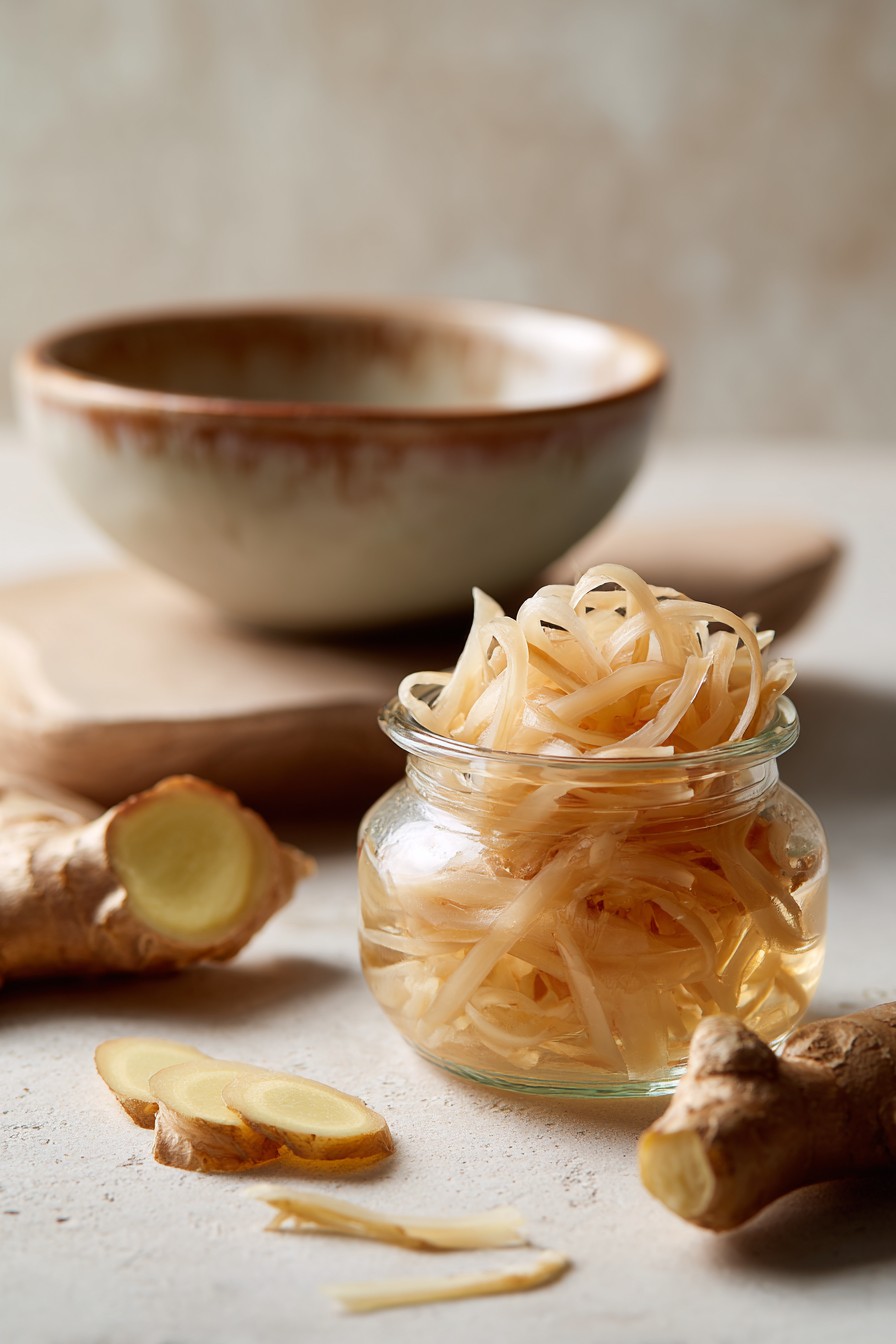
This homemade pickled ginger recipe, also known as gari, brings a bright and clean flavor and satisfying crispness to your meals. It’s surprisingly easy to make at home and tastes far better than anything store-bought. You can even customize the sweetness to your liking. The blanching process is also essential to mellow its sharpness.
Ingredients
- 8 ounces fresh ginger (young ginger preferred)
- 1 cup rice vinegar (unseasoned)
- 1/2 cup water
- 1/4 cup sugar (adjust to taste)
- 1 teaspoon salt
Instructions
- Prepare Ginger: Peel the ginger and slice it very thinly using a mandoline or sharp knife.
- Blanch Ginger: Bring a pot of water to a boil. Add the sliced ginger and blanch for 1 minute.
- Drain Immediately: Drain the ginger and transfer it to a bowl of ice water. Let it sit for 10 minutes to stop the cooking process.
- Make Brine: In a saucepan, combine rice vinegar, water, sugar, and salt. Heat over medium heat, stirring until the sugar and salt are dissolved. Do not boil.
- Cool Brine: Remove the brine from the heat and let it cool slightly.
- Drain Ginger Again: Drain the ginger from the ice water and pat it dry with paper towels.
- Pack Ginger: Pack the ginger slices tightly into a clean glass jar.
- Pour Brine: Pour the cooled brine over the ginger, making sure all the slices are submerged.
- Seal and Refrigerate: Seal the jar and refrigerate for at least 24 hours before serving. The flavor will continue to develop over time.
- Shake Gently: After the first 24 hours, shake the jar gently to distribute the brine evenly.
- Taste and Adjust: After 2 days, taste the ginger and add more sugar or salt to the brine, if needed and let sit for another 24 hours before serving.
Notes
- Ginger Type: Young ginger has thinner skin and a milder flavor. If using older ginger, peel it more thoroughly.
- Sugar Substitute: You can use honey or maple syrup instead of sugar for a different flavor profile.
- Make Ahead: This pickled ginger can be made up to 2 weeks in advance.
- Storage: Store in the refrigerator in an airtight container for up to 1 month.
- Reheating: Not applicable; serve cold.
- Serving Suggestions: Serve with sushi, sashimi, add to rice bowls, salads, or as a condiment for grilled meats. For a delicious complement, try these Hawaiian Bbq Pulled Pork.
Nutrition
- Array