Okay, so you know those little pink, green, and yellow chocolates with the surprise inside? Clinkers! They’re just the best, aren’t they? That slightly crunchy shell, that soft, melty centre… pure happiness in a bite. Well, one day I was staring at a bag of them, wondering how I could make them even *more* magical. And then it hit me! Clinkers Cheesecake Slice! It’s seriously one of those desserts that disappears off the plate in minutes.
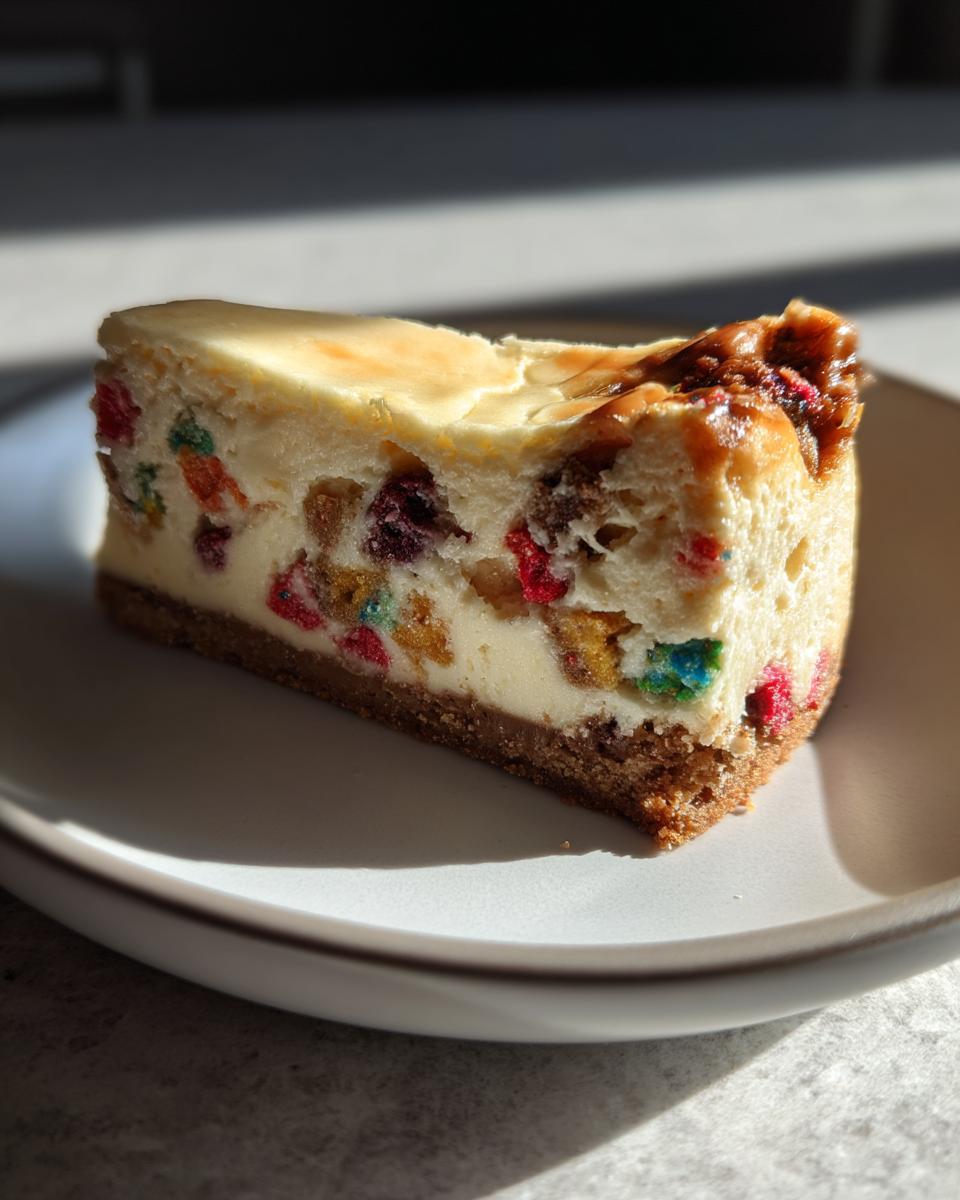
This isn’t some fancy, complicated bake either. Nope! This is a gorgeous, creamy, no-bake slice that lets those amazing Clinkers shine. It’s got a simple biscuit base and a luscious cheesecake filling studded with chopped Clinkers. The colours are just so fun, and the texture contrast between the smooth cheesecake and the little bursts of Clinker goodness is divine. I first whipped this up for a family BBQ, and honestly, people were asking for the recipe before I’d even finished slicing it! It’s become my go-to when I need something easy, impressive, and utterly delicious. Trust me, you NEED this in your life.
Why You’ll Love This Clinkers Cheesecake Slice
Okay, so why is THIS the Clinkers slice you absolutely have to try? Besides being ridiculously tasty, it’s got a few things going for it that just make life easier and sweeter. Seriously, it’s a winner for so many reasons:
- It’s a breeze: First off, it’s completely no-bake! That means no worrying about oven temperatures or cracks. Just mix, chill, and enjoy. Easy peasy!
- Simple steps, big flavour: You don’t need to be a pastry chef to make this. The steps are straightforward, but the result is a seriously impressive dessert that tastes like you put in way more effort than you did.
- Texture party! Oh, the texture! The smooth, creamy cheesecake paired with those little chewy, crunchy, chocolatey bits of Clinker? It’s a delightful surprise in every single bite.
- That unique Clinkers magic: Let’s be honest, Clinkers have a flavour all their own. This slice captures that fun, nostalgic taste perfectly, making it instantly recognisable and loved.
- Crowd-pleaser guaranteed: Need a dessert for a party, a potluck, or just because? This Clinkers Cheesecake Slice is always a hit. The fun colours and irresistible taste mean it disappears fast!
Seriously, what’s not to love? It’s delicious, it’s easy, and it’s got Clinkers!
Gathering Your Ingredients for Clinkers Cheesecake Slice
Alright, before we dive into the fun part, let’s get everything ready! Having all your ingredients measured out and prepped makes the whole process so much smoother. Trust me, you don’t want to be scrambling for the cream cheese when the biscuit base is chilling! Here’s what you’ll need:
Ingredient List
- 125g butter, melted
- 250g Arnott’s Choc Ripple biscuits, crushed
- 395g can sweetened condensed milk
- 250g cream cheese, softened
- 1/2 cup lemon juice
- 200g Clinkers lollies, chopped
How to Prepare Your Clinkers Cheesecake Slice
Okay, ingredients gathered? Brilliant! Now we get to the good stuff – putting it all together. This is where the magic happens, and honestly, it’s so straightforward you’ll wonder why you didn’t make this slice sooner. Just follow these steps, and you’ll have a gorgeous, colourful cheesecake slice ready to chill.
Step-by-Step Guide to Making Clinkers Cheesecake Slice
Making this slice is broken down into a few simple stages. We’ll start with the base, move onto that lovely creamy filling, and then get it ready to set in the fridge. Don’t rush the chilling part – that’s key!
Preparing the Biscuit Base for Your Clinkers Cheesecake Slice
First things first, let’s get that crunchy base sorted. You’ll need your melted butter and those crushed Arnott’s Choc Ripple biscuits. Grab a bowl and tip the crushed biscuits in. Pour the melted butter over the top. Now, give it a good stir until all those biscuit crumbs are coated in the butter. It should look like wet sand, but smell way better!
Next, grab your greased and lined 20cm round cake pan. Tip the biscuit mixture into the pan. Use the back of a spoon or the bottom of a glass to press it down firmly and evenly across the base. You want it nice and compact so it holds together when you slice it later. Once it’s all pressed down, pop the pan in the fridge for at least 15 minutes. This quick chill helps the base firm up before we add the filling.
Crafting the Clinkers Cheesecake Filling
While your base is chilling, let’s get started on the star of the show – the filling! Make sure your cream cheese is nice and soft; this is super important for a smooth filling. If it’s still a bit hard, give it a quick zap in the microwave for a few seconds or let it sit at room temperature for a bit longer. Nobody wants lumpy cheesecake!
In a medium bowl, add the softened cream cheese and the can of sweetened condensed milk. Grab your electric mixer (or a whisk and some elbow grease!) and beat them together until the mixture is lovely and smooth. There shouldn’t be any lumps of cream cheese left. Now, pour in the lemon juice. Keep beating for another minute or so until everything is really well combined and looks thick and creamy. The lemon juice helps the cheesecake set and adds a lovely tang that cuts through the sweetness.
Finally, the best bit! Gently fold in your chopped Clinkers. Use a spatula for this so you don’t break them up too much. You want those colourful chunks distributed throughout the filling. Don’t overmix here, just fold until they’re just combined.
Assembling and Chilling Your Clinkers Cheesecake Slice
Okay, time to bring it all together! Carefully take your chilled biscuit base out of the fridge. Pour the gorgeous, Clinker-studded filling evenly over the biscuit base. Use your spatula to smooth the top out. Give the pan a gentle tap on the counter to help settle the filling and get rid of any air bubbles.
Now, for the hardest part: waiting! Pop the assembled slice back into the fridge. It needs at least 3 hours to set firmly. Honestly, I recommend leaving it for longer if you can, even overnight is perfect. The longer it chills, the firmer and easier to slice it will be. You want it nice and solid before you attempt to cut into that colourful goodness!
Tips for Success with Your Clinkers Cheesecake Slice
Want to make sure your Clinkers Cheesecake Slice turns out absolutely perfect every single time? Here are a few little things I’ve learned along the way that make a big difference. These aren’t tricky, just simple tips that help everything go smoothly!
- Softened Cream Cheese is Key: Seriously, don’t skip this! If your cream cheese isn’t properly softened, you’ll end up with little lumps in your filling, and nobody wants that. Let it sit at room temperature for a while before you start, or give it a quick blast in the microwave if you’re in a hurry.
- Sharp Knife for Chopping: Clinkers can be a bit chewy, so using a sharp knife makes chopping them so much easier and safer. It helps you get nice clean cuts without squishing them too much.
- Chill, Chill, Chill!: I know it’s tempting to dig in, but that chilling time is crucial! It’s what makes the cheesecake set up properly so you can get lovely, clean slices. Don’t rush it – good things come to those who wait (at least 3 hours!).
Follow these little tips, and you’ll be slicing into a perfect piece of Clinkers heaven!
Variations for Your Clinkers Cheesecake Slice
While the classic Clinkers Cheesecake Slice is pretty perfect as is, there’s always room for a little fun and experimentation in the kitchen, right? Here are a few easy ways you can change things up and make it your own:
- Different Toppings: Feel free to go wild with toppings! A simple drizzle of melted milk or white chocolate over the top is always a winner. You could also sprinkle some extra chopped Clinkers right before serving, or add some fresh berries for a bit of freshness.
- Switch Up the Base: Don’t have Choc Ripple biscuits? No problem! You could easily use Digestives, Graham crackers, or even Oreos (just crush them whole, filling and all!). Each will give the base a slightly different flavour profile.
- More Chocolatey Goodness: If you’re a serious chocolate lover, you could fold in some white chocolate chips or even some roughly chopped rocky road pieces along with the Clinkers. Just don’t go too crazy or the filling might not set quite as firmly.
Have fun with it and see what delicious combinations you can come up with!
Serving Suggestions for Clinkers Cheesecake Slice
Okay, the moment of truth! Your gorgeous Clinkers Cheesecake Slice is chilled and ready. How do you make it look and taste even more amazing when you serve it up? Honestly, it’s so colourful and delicious on its own, but a few little extras never hurt!
For something simple and fresh, a handful of fresh berries like raspberries or strawberries adds a lovely pop of colour and a nice tangy contrast to the sweet cheesecake. A dollop of freshly whipped cream is always a classic and feels super indulgent. Or, if you want to lean into the chocolate theme, a drizzle of melted milk or white chocolate sauce over the top of each slice is just divine! Enjoy!
Storing and Keeping Your Clinkers Cheesecake Slice Fresh
Managed to have some leftovers? (Honestly, that’s rare in my house!). Keeping your Clinkers Cheesecake Slice fresh is pretty simple. Just pop any uneaten slices into an airtight container. Stash it in the fridge, and it should stay lovely and delicious for about 3-4 days. The good news is, because it’s a no-bake slice, there’s no need to ‘reheat’ it – it’s meant to be enjoyed cold straight from the fridge! Freezing *is* an option, but the texture of the Clinkers might change a little after thawing. If you do freeze it, wrap individual slices tightly in plastic wrap and then put them in a freezer-safe container for up to a month. Thaw them in the fridge before eating.
Common Questions About Clinkers Cheesecake Slice
Got a few questions buzzing in your head about this Clinkers Cheesecake Slice? Totally understandable! It’s a bit different from your usual cheesecake, so let’s clear up a few things that people often ask me:
Q1. Can I use a different type of biscuit for the base?
Absolutely! While Arnott’s Choc Ripple biscuits give it a lovely chocolatey depth that works so well with the Clinkers, you can totally swap them out. Digestive biscuits, Graham crackers, or even plain sweet biscuits would work just fine. Just make sure you’ve got the right amount by weight (250g) and crush them up well!
Q2. How long does Clinkers Cheesecake Slice last?
When stored properly in an airtight container in the fridge, this slice will happily last for about 3 to 4 days. It’s best enjoyed within the first couple of days though, while the biscuit base is still nice and crisp and the Clinkers are at their chewy best.
Q3. Can I freeze Clinkers Cheesecake Slice?
Yes, you can freeze it, but with a little note of caution! The cheesecake filling itself freezes quite well. However, the texture of the Clinkers might change a bit after being frozen and thawed – they can sometimes become a little harder or chewier than before. If you do freeze it, wrap individual slices really well in plastic wrap, then pop them in a freezer-safe container for up to a month. Thaw them slowly in the fridge overnight before digging in.
Q4. My filling isn’t setting, what did I do wrong?
The most common reason for a no-bake cheesecake not setting is not enough chilling time! It really needs those minimum 3 hours (or longer!) in the fridge to become firm. Also, make sure your cream cheese was properly softened and that you used the correct amount of lemon juice, as that helps with the setting process. Don’t panic, just give it more time in the cold!
Estimated Nutritional Information
Okay, so while we’re all enjoying this delicious Clinkers Cheesecake Slice, it’s sometimes helpful to have a general idea of what’s in it, right? Please keep in mind that these numbers are just *estimates*. They can totally vary depending on the specific brands of butter, biscuits, cream cheese, and even those lovely Clinkers you use. Think of this as a ballpark figure, not a strict count!
Based on the ingredients listed and divided into 12 servings, here’s a rough idea per slice:
- Calories: Approx. 450
- Sugar: Approx. 45g
- Sodium: Approx. 150mg
- Fat: Approx. 30g
- Saturated Fat: Approx. 18g
- Unsaturated Fat: Approx. 10g
- Trans Fat: Approx. 1g
- Carbohydrates: Approx. 40g
- Fiber: Approx. 1g
- Protein: Approx. 5g
- Cholesterol: Approx. 70mg
Again, these are just estimates to give you a general idea. The most important thing is enjoying every single bite of this fun and tasty slice!
Share Your Clinkers Cheesecake Slice Creation
So, have you whipped up this colourful Clinkers Cheesecake Slice yet? I’d absolutely LOVE to hear how it went for you! Did it disappear as fast in your house as it does in mine? Did you try any fun variations? Please leave a comment below and let me know! And if you loved it, don’t forget to give the recipe a rating. Your feedback helps other home cooks find this little piece of Clinkers heaven!
Print
Clinkers Cheesecake Slice: 1 Magical Bite
- Total Time: 3 hours 20 minutes
- Yield: 12 slices 1x
- Diet: Vegetarian
Description
A delightful cheesecake featuring the unique texture and flavor of Clinkers candy.
Ingredients
- 125g butter, melted
- 250g Arnott’s Choc Ripple biscuits, crushed
- 395g can sweetened condensed milk
- 250g cream cheese, softened
- 1/2 cup lemon juice
- 200g Clinkers lollies, chopped
Instructions
- Combine melted butter and crushed biscuits. Press mixture into the base of a greased and lined 20cm round cake pan. Chill for 15 minutes.
- Beat condensed milk and cream cheese until smooth. Add lemon juice and chopped Clinkers.
- Pour mixture over the biscuit base. Chill for at least 3 hours or until firm.
- Slice and serve.
Notes
- Ensure cream cheese is softened to avoid lumps.
- Use a sharp knife to chop the Clinkers.
- Prep Time: 20 minutes
- Cook Time: 0 minutes
- Category: Dessert
- Method: No-bake
- Cuisine: Australian
Nutrition
- Serving Size: 1 slice
- Calories: 450
- Sugar: 45g
- Sodium: 150mg
- Fat: 30g
- Saturated Fat: 18g
- Unsaturated Fat: 10g
- Trans Fat: 1g
- Carbohydrates: 40g
- Fiber: 1g
- Protein: 5g
- Cholesterol: 70mg