For the longest time, I thought making doughnuts from scratch was some kind of culinary magic trick only professionals could pull off. But let me tell you, it’s not! This recipe is surprisingly straightforward, and the result? Absolute magic. You get these beautiful, light, and utterly delicious doughnuts right in your own kitchen. The smell alone is worth it, trust me. I still remember the first time I made a batch, watching them puff up in the oil… it felt like a little victory!
So, get ready to impress yourself and everyone around you. We’re about to dive into making the best homemade doughnuts you’ve ever tasted. It might seem a little daunting at first, but I promise, we’ll go through it together, and you’ll be a doughnut-making champ in no time!
Why You’ll Love Making These Doughnuts
Okay, so why bother making doughnuts at home when you can just pop down to the shop? Because these are SO much better, that’s why! Seriously, once you taste a truly fresh, warm doughnut made with love (by *you*!), you’ll get it. Here’s why this recipe is gonna be your new favorite:
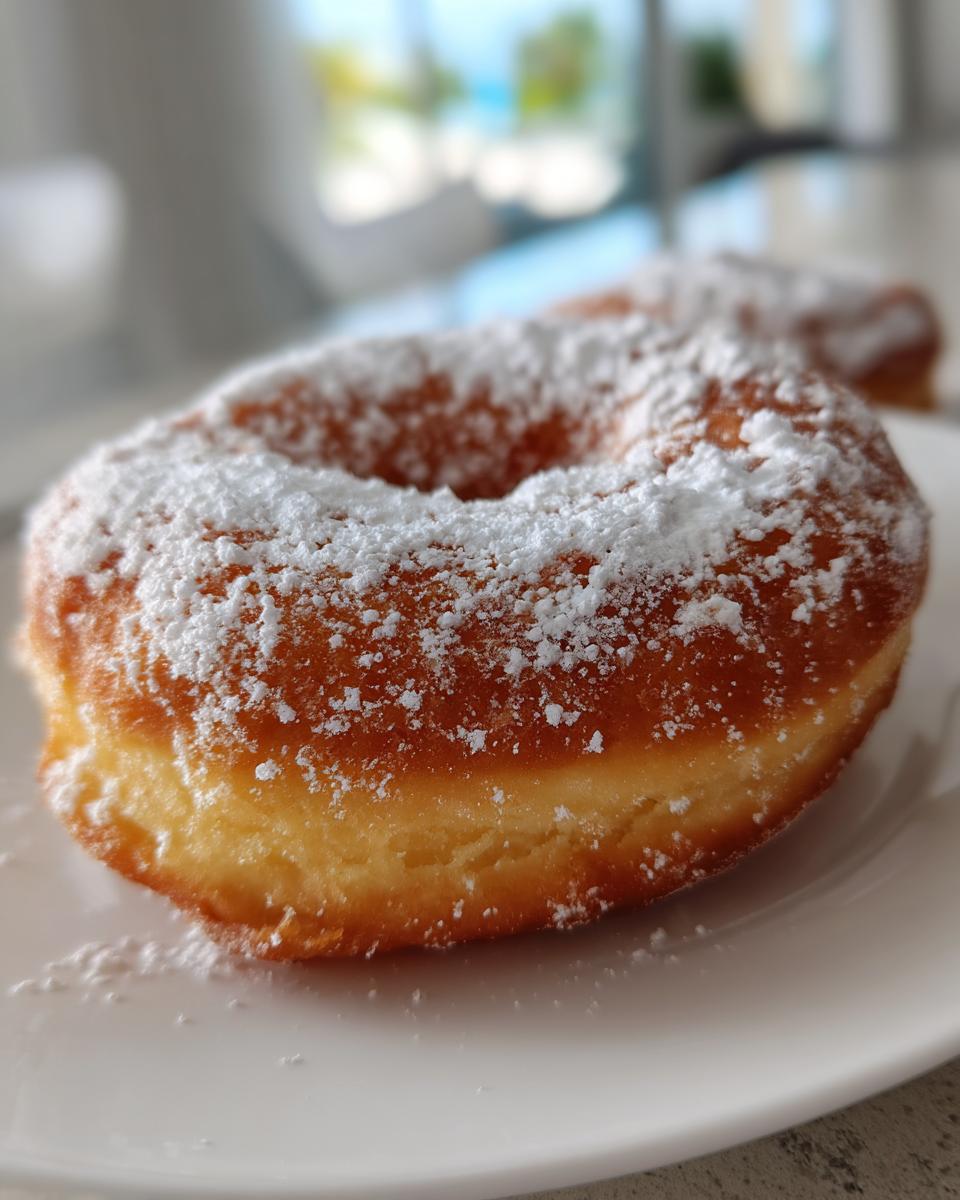
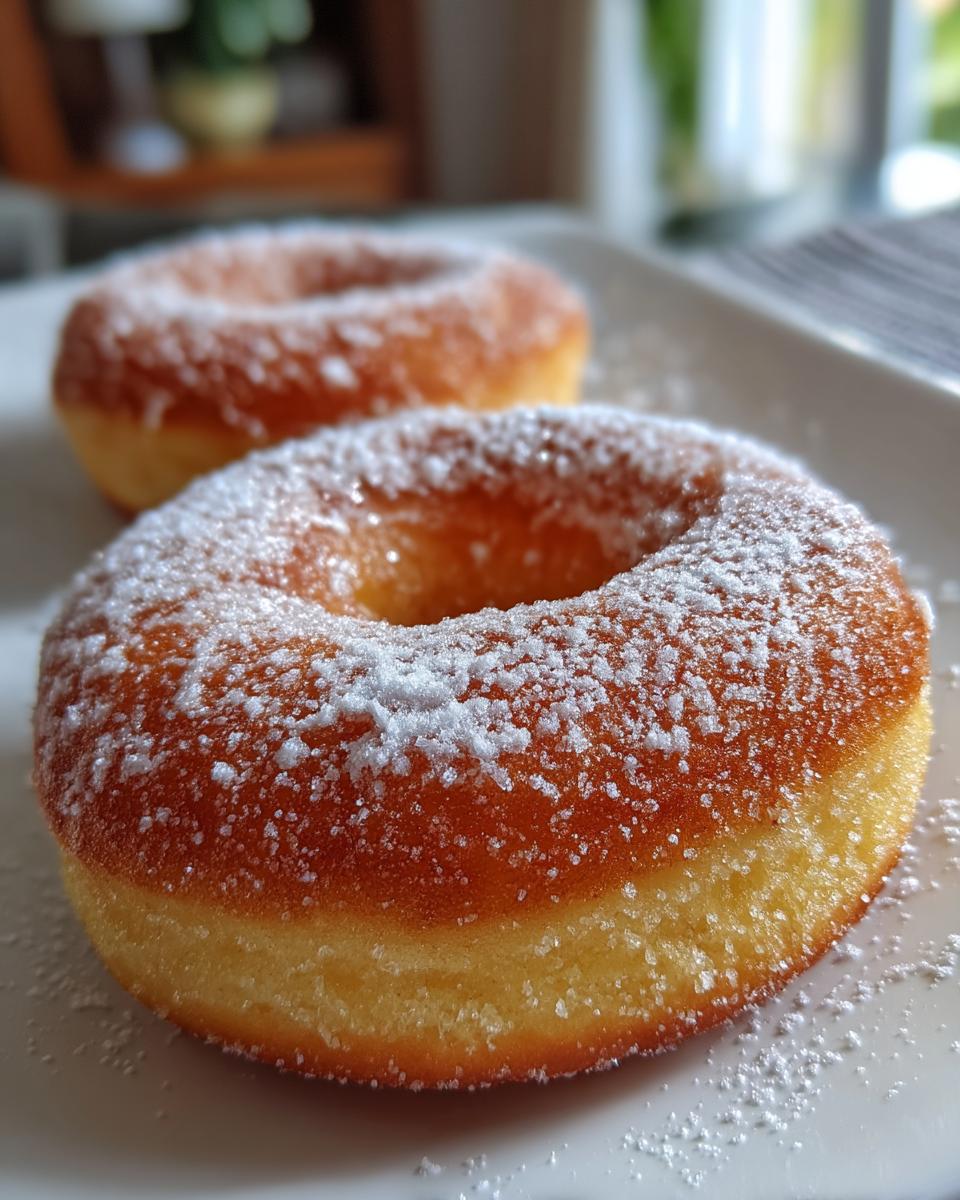
- Hello, Fluffy and Sweet Doughnuts! These aren’t dense and heavy; they’re light, airy, and just the right amount of sweet. Pure bliss!
- Simple Ingredients? Yep! You probably have most of this stuff in your pantry already. Nothing fancy, just good old-fashioned goodness.
- Perfect for ANY Occasion: Breakfast treat? Dessert? Just because it’s Tuesday? Doughnuts fit *all* the moods and moments.
It’s just so rewarding to see these come to life in your kitchen. Plus, the bragging rights? Totally worth it!
Gather Your Ingredients for Perfect Doughnuts
Alright, before we get our hands delightfully messy, let’s make sure we have everything lined up. Having all your ingredients ready to go makes the whole process so much smoother, trust me on this! You’ll need:
- 1 cup warm milk (think bathwater warm, not hot!)
- 2 1/4 teaspoons active dry yeast (the little magic makers!)
- 1/4 cup granulated sugar (just plain old sugar is perfect)
- 1 large egg (room temperature is best if you can remember!)
- 1/4 cup unsalted butter, melted (let it cool slightly!)
- 1 teaspoon vanilla extract (adds that lovely warmth)
- 3 1/2 cups all-purpose flour (regular flour works great!)
- 1/2 teaspoon salt (just a tiny bit to balance the sweet)
- Vegetable oil for frying (you’ll need enough to fill your pot a few inches deep)
- Powdered sugar or your favorite glaze for coating (the fun part!)
See? Nothing too crazy! Just simple things that come together for something amazing.
Essential Equipment for Making Doughnuts
Okay, now that we’ve got our ingredients ready, let’s talk tools! You don’t need a fancy setup, just a few kitchen basics. Having these on hand makes the doughnut-making journey a breeze. Here’s what you’ll want to gather:
- A nice large bowl for mixing and letting that dough rise.
- A whisk for getting things nice and blended.
- Your trusty measuring cups and spoons – precision counts here!
- A rolling pin to get that dough just right.
- A doughnut cutter or two different size round cutters (one for the outside, one for the hole!).
- Parchment paper and a baking sheet for letting those cut doughnuts rest.
- A large pot or deep fryer for the main event – frying!
- A slotted spoon or spider to safely get those golden beauties out of the oil.
- A wire rack set over some paper towels for draining off any excess oil.
See? Nothing too complicated! Just your standard kitchen helpers.
How to Prepare Fluffy Doughnuts Step-by-Step
Alright, deep breath! Making doughnuts might seem intimidating, but we’re going to go through it step-by-step, and I promise, you’ve got this. This is where the magic really happens, turning simple ingredients into those irresistible fluffy rings of joy. Let’s get started!
- Wake up that yeast! Grab your large bowl and gently warm your milk. Not hot! Just warm enough that it feels cozy, like bathwater. Stir in your yeast and just a pinch of that sugar. Give it a little stir, then let it sit quietly for about 5 to 10 minutes. You’re looking for it to get nice and foamy on top. That means your yeast is alive and happy and ready to work! If it doesn’t get foamy, your yeast might be old, or the milk wasn’t the right temperature. Time to grab fresh yeast and try again!
- Add the wet stuff. Once your yeast is bubbly, add the rest of the granulated sugar, your egg, the melted butter (make sure it’s cooled a little so it doesn’t cook the egg!), and the vanilla extract. Give it a good mix until everything is happy and combined.
- Combine dry ingredients. In a separate bowl, whisk together your flour and salt. This just helps distribute the salt evenly throughout the dough.
- Mix it all together. Now, gradually add the dry flour mixture to the wet ingredients. I usually add about a cup at a time, mixing with a spoon or a sturdy spatula until a soft dough starts to form. It might look a little shaggy at first, and that’s totally okay!
- Knead that dough! Turn the dough out onto a lightly floured surface. Now comes the kneading! Push the dough away from you, fold it back, and turn it. Do this for about 5 to 7 minutes. You want to end up with a smooth, elastic ball of dough. It should spring back a little when you poke it.
- Let it rise (the first time!). Lightly grease your bowl (the one you mixed in works great). Place the dough ball inside, turning it to coat. Cover the bowl with plastic wrap or a clean kitchen towel and find a warm spot – a slightly warm oven (turned OFF!), near a sunny window, or even on top of your fridge can work. Let it rise for 1 to 1.5 hours, or until it has doubled in size. This is crucial for that light, fluffy texture!
- Punch it down and roll it out. Once the dough has doubled, gently punch it down to release the air. Turn it out onto your lightly floured surface again. Roll the dough out to about 1/2 inch thickness. Don’t roll it too thin!
- Cut out your doughnuts! Now for the fun part! Use your doughnut cutter to cut out the shapes. If you don’t have one, use a larger round cutter for the outside and a smaller one for the hole in the middle. Gather up the scraps, gently knead them together, and you can cut out a few more.
- Second rise (almost there!). Carefully place your cut doughnuts onto a baking sheet lined with parchment paper. Leave some space between them. Cover them again with plastic wrap or a towel and let them rise for another 20 to 30 minutes. They’ll puff up a bit more, getting ready for their swim!
- Heat the oil. While your doughnuts are doing their second rise, heat your vegetable oil in a large pot or deep fryer. You’ll need enough oil so the doughnuts can float easily. Use a thermometer to get the temperature right – you’re aiming for 350°F (175°C). Getting the oil temperature right is KEY! Too cool and the doughnuts will be greasy; too hot and they’ll burn outside before cooking inside.
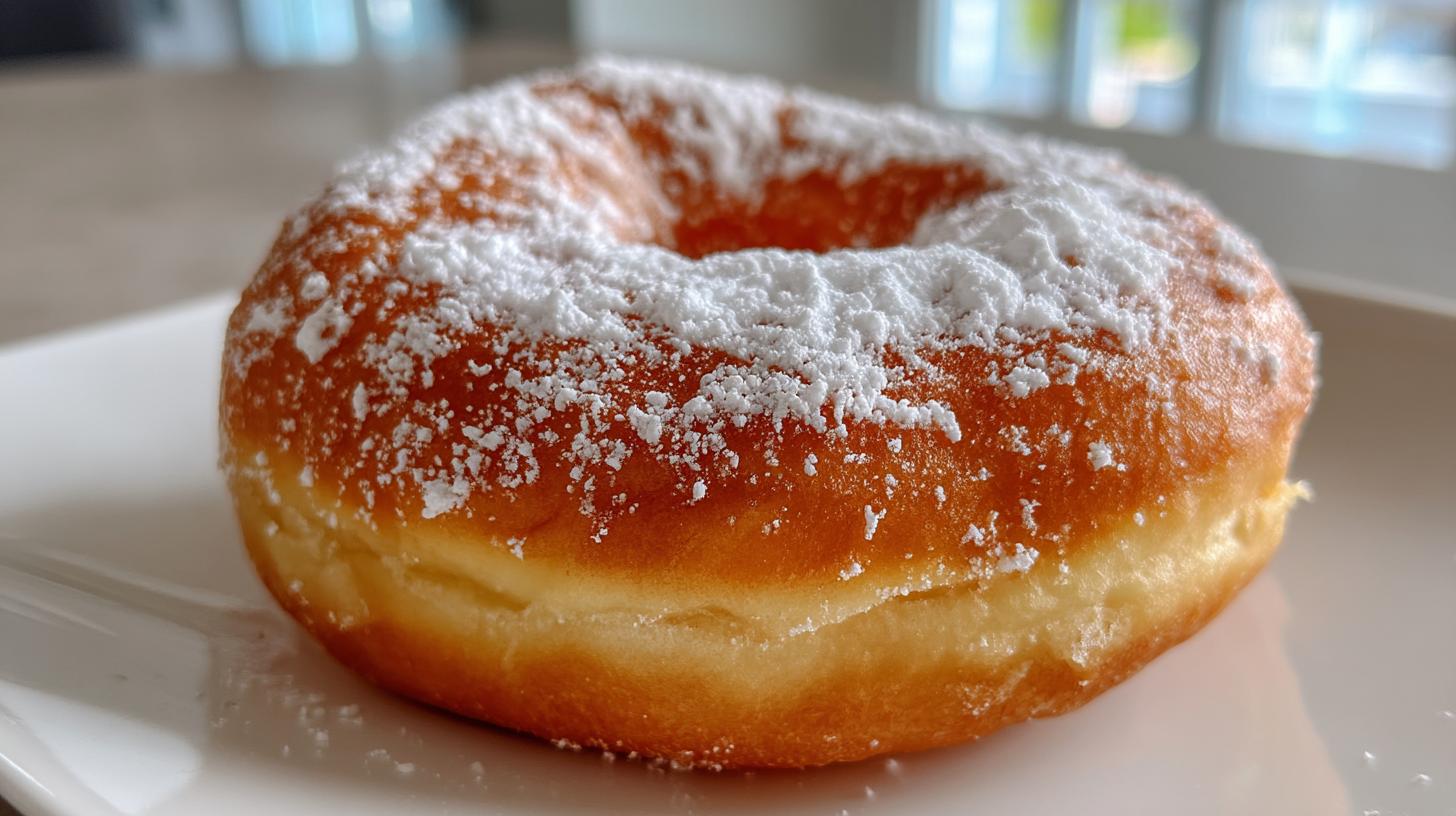
- Fry ’em up! Carefully slide a few doughnuts into the hot oil. Don’t overcrowd the pot! They need space to cook evenly. Fry for about 1 to 2 minutes per side, until they’re a beautiful golden brown. Watch them closely, they cook fast!
- Drain and cool slightly. Use a slotted spoon or spider to lift the cooked doughnuts out of the oil. Let the excess oil drip off, then place them on a wire rack set over paper towels to drain properly.
- Coat and enjoy! Once the doughnuts are still warm (but not too hot to handle), coat them in powdered sugar or dip them in your favorite glaze.
And there you have it! Fresh, warm, homemade doughnuts. You did it! Now go enjoy the fruits of your labor!
Tips for Achieving the Best Doughnuts
Okay, so you’ve made it through the steps – amazing! Now, let’s talk about those little things that make the difference between a good doughnut and an absolutely *spectacular* one. These are my go-to tips that help me get perfect results every time.
- Milk Temperature Matters! Remember how I said warm, not hot? This is so important for your yeast. If the milk is too hot, it’ll kill the yeast, and your dough won’t rise. If it’s too cool, the yeast will be sluggish. Aim for that cozy bathwater feel!
- Don’t Crowd the Pot! When you’re frying, resist the urge to cram too many doughnuts in at once. It drops the oil temperature, and you end up with greasy, unevenly cooked doughnuts. Fry in batches, giving each one space to swim and puff up nicely.
- Fresh is BEST! Like, seriously. Homemade doughnuts are at their absolute peak when they’re still warm from the fryer and freshly coated. While they’re still good later, that magical fluffy texture is truly something special right away.
- Sticky Dough? Flour Power! If your dough feels a little too sticky while kneading or rolling, add just a *tiny* bit more flour at a time to your surface and hands. Don’t add too much though, or your doughnuts could end up tough.
- Oil’s Ready Signal: Besides a thermometer, you can test if your oil is hot enough by dropping a small piece of dough in. If it sizzles and bobs to the surface right away, you’re good to go! If it just sits there or burns instantly, adjust the heat.
Following these simple tips will really elevate your doughnut game, trust me!
Ingredient Notes and Substitutions for Doughnuts
While this recipe is pretty classic, sometimes you might wonder about swapping things out. Here are a few thoughts on the ingredients:
For the milk, I usually use whole milk because the fat adds richness, but 2% or even a non-dairy milk like almond or soy milk can work in a pinch. Just be aware it might slightly change the final texture.
As for the frying oil, vegetable oil is my standard because it has a high smoke point and a neutral flavor. Canola oil or even peanut oil (if no allergies!) are also good options. Avoid olive oil or butter for frying, they’ll burn!
The unsalted butter is important because you add the salt separately, giving you more control. If you only have salted butter, just omit the 1/2 teaspoon of added salt in the dry ingredients.
Using active dry yeast is key here; instant yeast might work differently, so stick to active dry for this recipe to ensure the correct rise.
Frequently Asked Questions About Making Doughnuts
Okay, so you’ve made your first batch (or you’re getting ready to!). It’s totally normal to have questions. Making homemade doughnuts is a bit of a process, and getting it just right can bring up a few things. Here are some common questions I get asked about making these fluffy doughnuts:
Q: Can I bake these doughnuts instead of frying them?
A: This specific recipe is really designed for frying to get that classic fluffy, airy texture. Baking would give you more of a cakey doughnut, which is a different thing entirely! While you *can* bake some doughnut recipes, this one shines when it’s fried. If you’re looking for baked doughnuts, you’d need a different recipe that uses baking powder instead of yeast as the main leavener.
Q: How do I store leftover doughnuts?
A: Honestly, homemade doughnuts are best eaten fresh! But if you do have leftovers, store them in an airtight container at room temperature. They’ll keep for a day or two, but that super-fresh texture will start to change. To freshen them up slightly, you can pop them in the microwave for just a few seconds (like 10-15), but be careful not to overheat them!
Q: What’s the best glaze for homemade doughnuts?
A: Oh, the possibilities! A simple powdered sugar glaze (powdered sugar mixed with a little milk or water and vanilla) is always a winner. Chocolate glaze is another classic. You can get creative with maple glaze, lemon glaze, or even a simple cinnamon sugar coating while they’re warm. It really depends on what you’re craving!
Q: My dough isn’t rising. What went wrong?
A: The most common culprit here is your yeast! Either the warm milk was too hot and killed it, or the yeast itself was expired. Make sure your milk is just warm (not hot!), and always check the expiration date on your yeast packet. Patience is also key during the rising times – make sure your spot is genuinely warm!
Estimated Nutritional Information for Doughnuts
Just a quick note on the numbers! The nutritional information provided for these doughnuts is an estimate. Things like the exact brands of ingredients you use, how much oil the doughnuts absorb during frying, and even the size you cut them can all affect the final values.
Think of it as a general guideline, not a strict calculation. If you’re tracking things super closely, you might want to do your own calculations based on your specific ingredients. But hey, sometimes it’s nice to just enjoy a delicious homemade doughnut without getting too bogged down in the details, right?
Enjoy Your Delicious Homemade Doughnuts
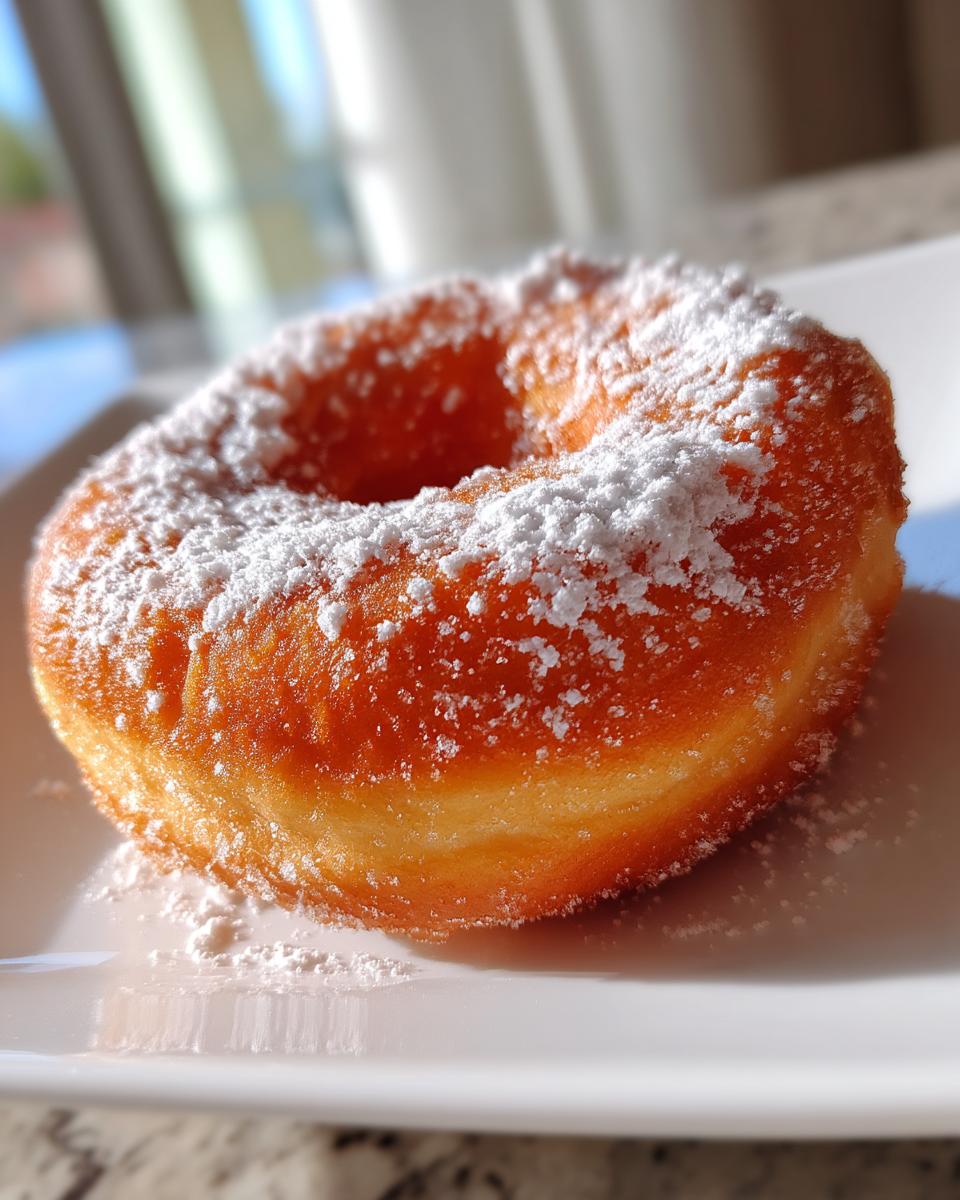
So there you have it! Your very own batch of warm, fluffy, absolutely delicious homemade doughnuts. I hope you had as much fun making them as you’re about to have eating them! Seriously, take a moment to appreciate that golden perfection you created.
I’d absolutely LOVE to hear how yours turned out. Did you go for a classic powdered sugar coating or get fancy with a glaze? Let me know in the comments below! And if you loved this recipe, please consider giving it a rating. It helps other home cooks find it too!
Now go on, grab a beverage, and savor every single bite. You totally deserve it!
PrintEasy Homemade Doughnuts 1 Recipe
- Prep Time: 30 minutes
- Cook Time: 10 minutes
- Total Time: 2 hours 10 minutes
- Yield: 12-15 doughnuts 1x
- Category: Dessert
- Method: Frying
- Cuisine: American
- Diet: Vegetarian
Description
Fluffy and sweet doughnuts, perfect for a treat.
Ingredients
- 1 cup warm milk
- 2 1/4 teaspoons active dry yeast
- 1/4 cup granulated sugar
- 1 large egg
- 1/4 cup unsalted butter, melted
- 1 teaspoon vanilla extract
- 3 1/2 cups all-purpose flour
- 1/2 teaspoon salt
- Vegetable oil for frying
- Powdered sugar or glaze for coating
Instructions
- In a large bowl, combine warm milk, yeast, and a pinch of sugar. Let sit for 5-10 minutes until foamy.
- Add the remaining sugar, egg, melted butter, and vanilla extract to the yeast mixture. Mix well.
- In a separate bowl, whisk together flour and salt.
- Gradually add the dry ingredients to the wet ingredients, mixing until a soft dough forms.
- Turn the dough out onto a lightly floured surface and knead for 5-7 minutes until smooth and elastic.
- Place the dough in a greased bowl, cover, and let rise in a warm place for 1-1.5 hours, or until doubled in size.
- Punch down the dough and turn it out onto a lightly floured surface.
- Roll the dough to about 1/2 inch thickness. Cut out doughnut shapes using a doughnut cutter or two different sized round cutters.
- Place the doughnuts on a parchment-lined baking sheet, cover, and let rise for another 20-30 minutes.
- Heat vegetable oil in a large pot or deep fryer to 350°F (175°C).
- Carefully add a few doughnuts at a time to the hot oil. Fry for 1-2 minutes per side, until golden brown.
- Remove doughnuts with a slotted spoon and place on a wire rack set over paper towels to drain.
- Coat warm doughnuts in powdered sugar or dip in your favorite glaze.
Notes
- Ensure your milk is warm, not hot, to activate the yeast.
- Do not overcrowd the pot when frying.
- Doughnuts are best enjoyed fresh.
Nutrition
- Array